

August 18, 2025
Gone are the days when being available in one channel was enough to make decent sales.
These days customers jump between websites, social media, emails, and physical stores, just to make a single decision. As a result, you as a business need to be available in all to capture their attention and trust.
In this guide, we’ll explore what the omnichannel customer journey is, how it looks in practicality and a step by step process of how you can design your own.
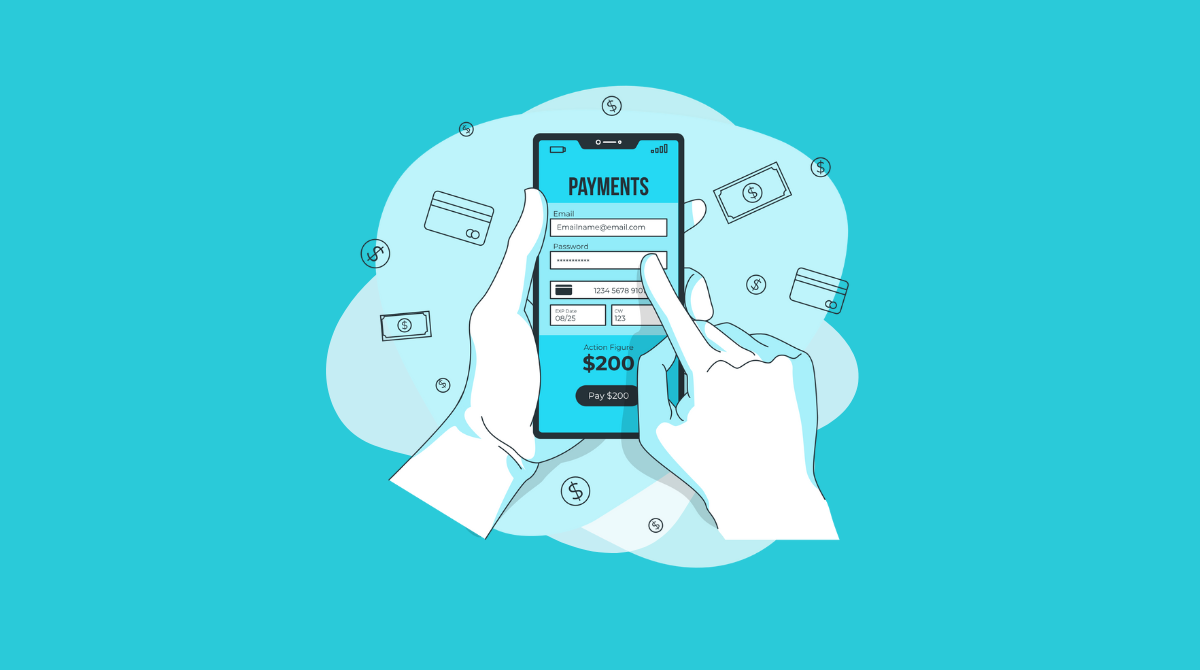
The omnichannel customer journey is the path a shopper takes across different channels and devices (like websites, mobile apps, social media, email, in-store, and customer support) to research, evaluate, and purchase products.
Here’s what an omnichannel customer journey looks like in practice:
Before you can map the customer journey, it’s essential to gain a clear understanding of how your existing customers interact with your brand across all touchpoints.
This begins by collecting and unifying your customer data. The types of data you should focus on include:
To gather and centralize this data, you’ll typically use tools like:
For a truly unified experience, consider investing in a Customer Data Platform (CDP). This tool consolidate data from all these sources into a single, comprehensive view
With your customer data in hand, the next step is to pinpoint where and how customers are interacting with your brand within this data.
Start by listing all the places your customers connect with you like social media posts, emails, product pages, the shopping cart, checkout process, or customer support chats.
Then, look closely at how they behave at each of these touchpoints. Ask questions like:
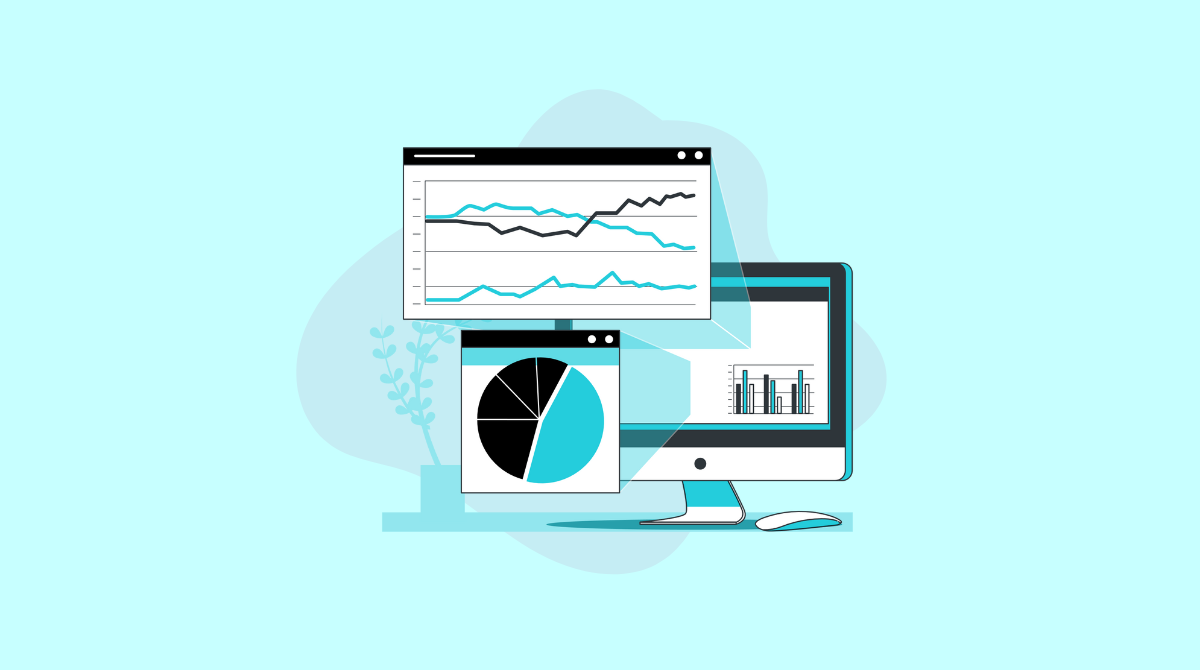
Now that you’ve collected data and identified how customers interact with your brand, it’s time to put everything together into a visual map.
Start by breaking the data into key stages. Most ecommerce customer journeys follow this general structure:
Create a visual layout like a flowchart or table to map this journey. Include all relevant data you’ve gathered, like bounce rates, exit points, or support ticket trends, to make the map as real and data-driven as possible.
Now that your customer journey is mapped out, it’s time to spot friction points and figuring out what you can do to make each stage work better.
Start by reviewing each journey stage (Awareness, Consideration, Acquisition, Post-Service, and Loyalty) and ask:
Once you’ve spotted these issues, note down specific optimization tactics for each stage. For example:
Once you've listed potential fixes or improvements, the next step is to run small, testable experiments.
Pick one or two tactics for each journey stage that seem most likely to make a difference. Then, run controlled A/B tests, pilots, or limited-time experiments to validate your assumptions. For example:
Keep your tests focused, measurable, and time-bound. Define a clear success metric (e.g., conversion rate, email CTR, cart abandonment rate) before you start.
After testing your optimization ideas on a small scale, it’s time to double down on what’s proven to work.
Look at the results from the hypothesis and identify which changes had the biggest positive impact. Then:
Keep your map updated as you go, and continue learning from new data. Customer behavior changes, so treat your journey map as a living document, not a one-time project.
You don’t need a full omni-channel setup on day one. Here’s when it makes sense to start investing:
Every interaction your customers have with your brand influences how they feel and engage moving forward. That’s why it’s essential to evaluate your current omnichannel processes and identify opportunities for improvement.
While this might seem like a daunting task, with software like Mevrik, it becomes much more manageable.
Mevrik’s unified inbox and all its support features allows you to seamlessly manage all your channels and customer interactions in one place. This way, you can respond faster, deliver consistent experiences, and build stronger relationships across every touchpoint.
Ready to thrive on the customer experience and increase sales & support?


AI-Powered all-in-one platform to connect, engage, and delight customers across digital channels.
© 2025 Mevrik. All Rights Reserved.
.png)